One of the most basic settings you need to get right in your 3D printer is the shell thickness. This is crucial for the stability and strength of your 3D print, so how many shells does your 3D print really need and how do you calculate it? Learn more here.
As a general rule, your shell thickness should be a multiple of your nozzle diameter. So if you have a 0.4mm nozzle, you can use shell thicknesses of 0.8, 1.2, 1.6, and so on. For most prints, you’ll find yourself using a shell thicnkess of 1.2mm. The number of shells will be the wall thickness divided by the line width.
What is shell thicnkess in 3D printing?
Imagine that you want to print a hollow object like a vase. If you used the highest number of shells for this print, you would not get a hollow object – instead, you’d end up with a solid block.
The shell thickness determines how many outlines the 3D printer makes before starting the infill on every layer.
So if you had a shell thicnkess of 1.2mm, the 3D printer would make outlines of 1.2mm, and once the outlines are complete, it would start laying in the infill.
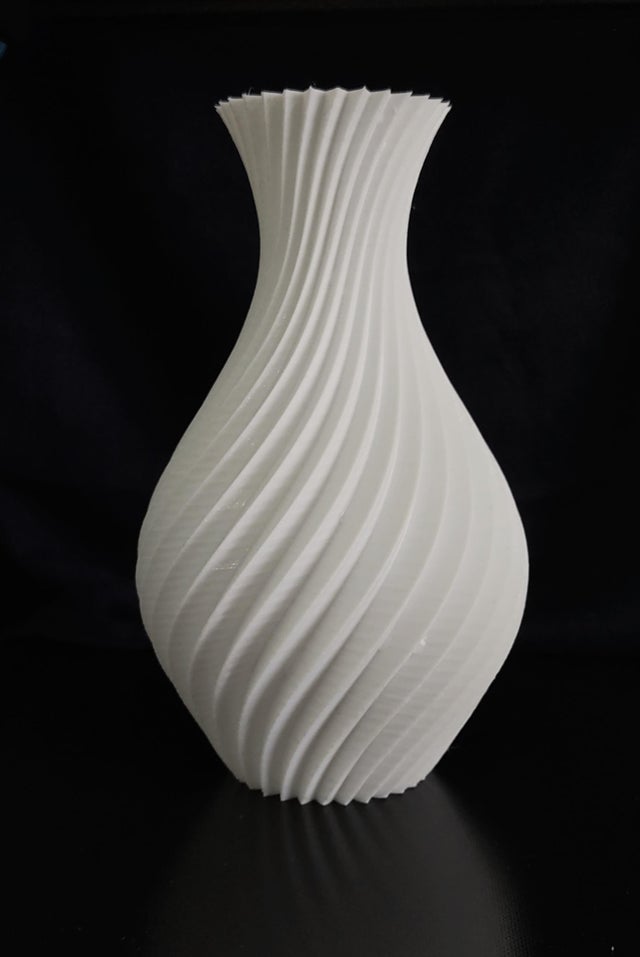
Image credit: Reddit
What about 3D printing in vase mode?
In Vase mode(known as spiralize outer contour in Cura), you are only laying down bottom layers and shells. There’s no infill and there’s no top layer!
These models are generally solid in the slicer at first, but when you remove the infill and top layer, you’ll see the proper shape come into play.
For printing bigger vase with thicker walls or an object like a cup or glass, you will need to use infill. In this case, you need to make sure that the original model contains a hollow interior, otherwise, it will not print correctly.
Why shell thickness matters
Shell thickness is an important setting! Here are three reasons you need to get this right.
Strength
The core function of shell thickness is the strength of your 3D printed model. A model with just one outer shell will be very flimsy and weak, and you’ll probably be able to crush it with your bare hands.
Add two to three more shells and you’ll see how much of a difference that makes in the overall strength of the model!
Shell thickness will also add to the weight of the model, so a greater number of shells will mean you will use more plastic. This also increases your cost per model.
Interestingly enough, you’ll find that for optimum strength, you’ll need to balance the infill and the shell thickness. A model with just one shell but lots of infill will be weaker than a model with multiple shells but less infill.
Post-processing
The number of shells you use will also make a difference in any post processing you wish to do. For example, if you’re planning on sanding or smoothing your 3d printed model, it would be wise to factor in an extra shell to retain strength after sanding.
If you sand down a model with too few shells, the resulting wall thickness will be very little and can end up severely weakening your 3D print.
Adding an extra shell for models that require post=processing means you can effectively remove one entire shell(or more) during sanding and still have a structurally sound model as a finished product.
Gaps in your walls
An improperly configured shell thicnkess will result in gaps in the walls of your 3D print. Remember, the shell thickness must be a multiple of your nozzle diameter!
Finer details don’t print correctly
When your shell thicnkess is too high, you will find that finer details of your print are not turning out correctly. So if you were expecting a hole for a rod or a screw and your shell thickness is too much, you’ll have trouble getting the rod to thread through even if you measured the part correctly when modeling it.
That’s why shell thickness is all about striking a balance!
What’s the ideal shell thicnkess
The best shell thickness to use is 2 to 3 times your nozzle width. For a 0.4mm nozzle, this would be 0.8mm or 1.2mm. Along with shell thickness, you’ll also have to consider top and bottom layers.
Keep at least 3 bottom layers for a stable platform for your print to build upon, and keep at least 3 top layers for a good seal on your print. 2 top layers may work fine, but you may find gaps in the top layer if you’re using smaller layer heights.
How to set up shell thickness in Cura
Cura will automatically adjust your wall line count depending on your wall thickness.
By default, the wall line width is not visible in Cura, but you can enable it by clicking on the little gear icon and finding it under the “Quality” setting.
If you adjust your wall line width, you’ll see that the wall line count will automatically adjust.
For example, the default wall line width in Cura is 0.4mm for a 0.4mm nozzle.
If you adjust your wall thickness to 1.2mm, you’ll see that the wall line count will automatically update to 3.
If you then went ahead and changed the wall line width to 0.2mm instead of 0.4mm, you’ll see that the wall line count will automatically change to 6, since 6 * 0.2mm is 1.2mm.
Conclusion
I hope this overview of shell thicnkess explained this critical yet sometimes overlooked concept! If you’re just starting out, using Cura is a good start because it handles many of these calculations automatically.
More advanced slicers like Simplify3D give you a lot more scope for customization but also leaves that much more room for error!