I have two 3D printers: a Prusa i3 MK3S+ (the workhorse) and an (my fidget printer).
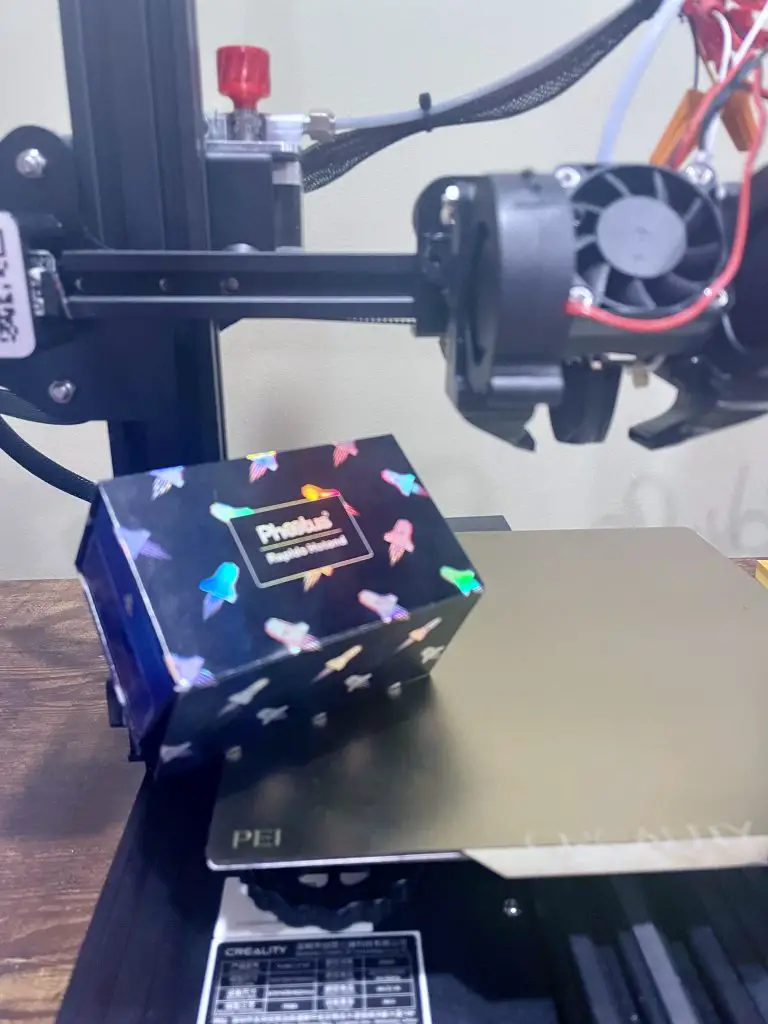
Lately, I’ve been working on “Project Hurricane”, turning my Ender 3 V2 into a 1000 mm/s speed deamon printing at flow rates pushing 50 mm^3/s.
The first major upgrade to get there… a high flow hotend. Or in the case of the Phaetus Rapido an “are you kidding me” flow hotend.
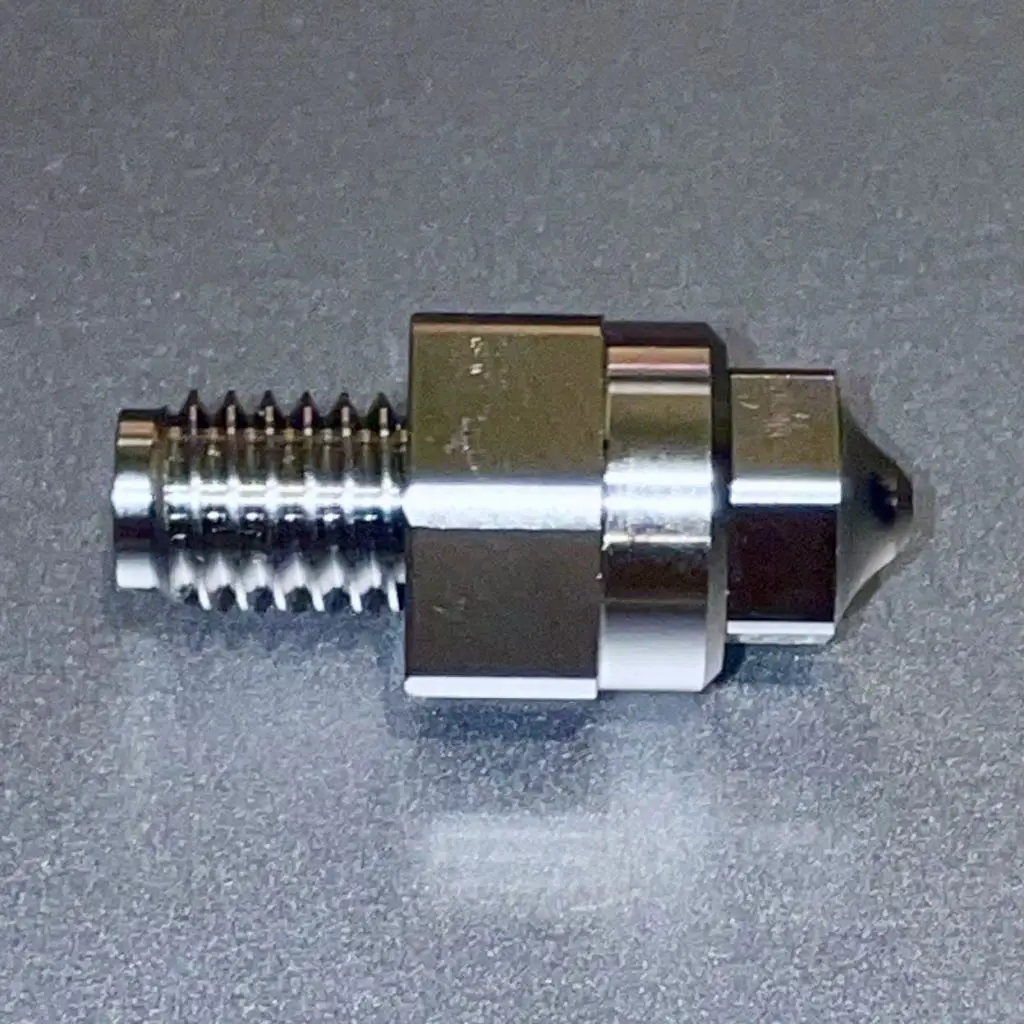
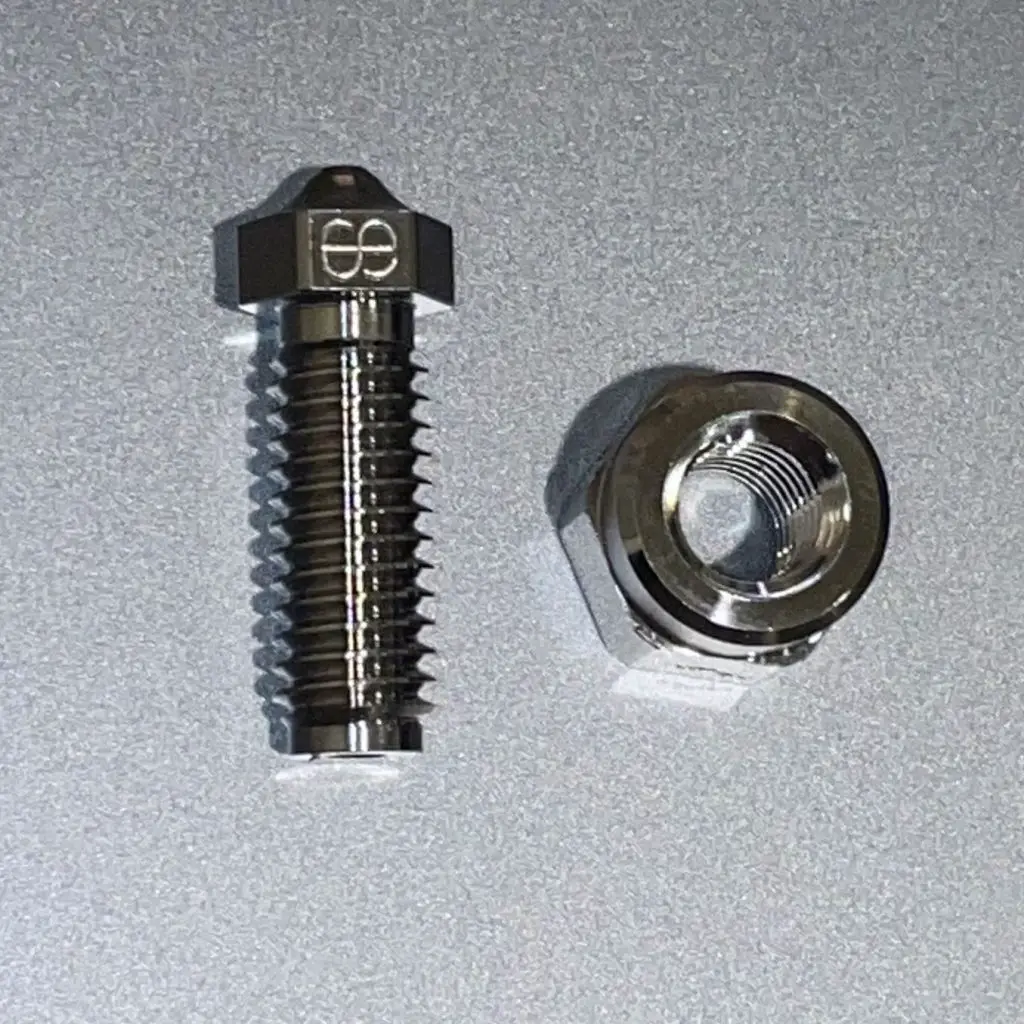
One thing I like about the Ultra High flow design is this E3D Volcano length nozzle. To account for the extra length they include a nut/sleeve to help maintain some thermal mass. It’s clever.
My friend Nathan, of Nathan Builds Robots, did a great review on this hotend.
How fast does the Phaetus Rapdio heat?
SO FAST… I was stunned. On my stock hotend I’d set it to heat and wait several minutes.
On the Phaetus?
Turned it on, set to 200°C, and watched (each interval was about 3-5 seconds):
22°C. 35°C. 80°C. 150°C. 212°C (overshot… see the important tuning the PID section below).
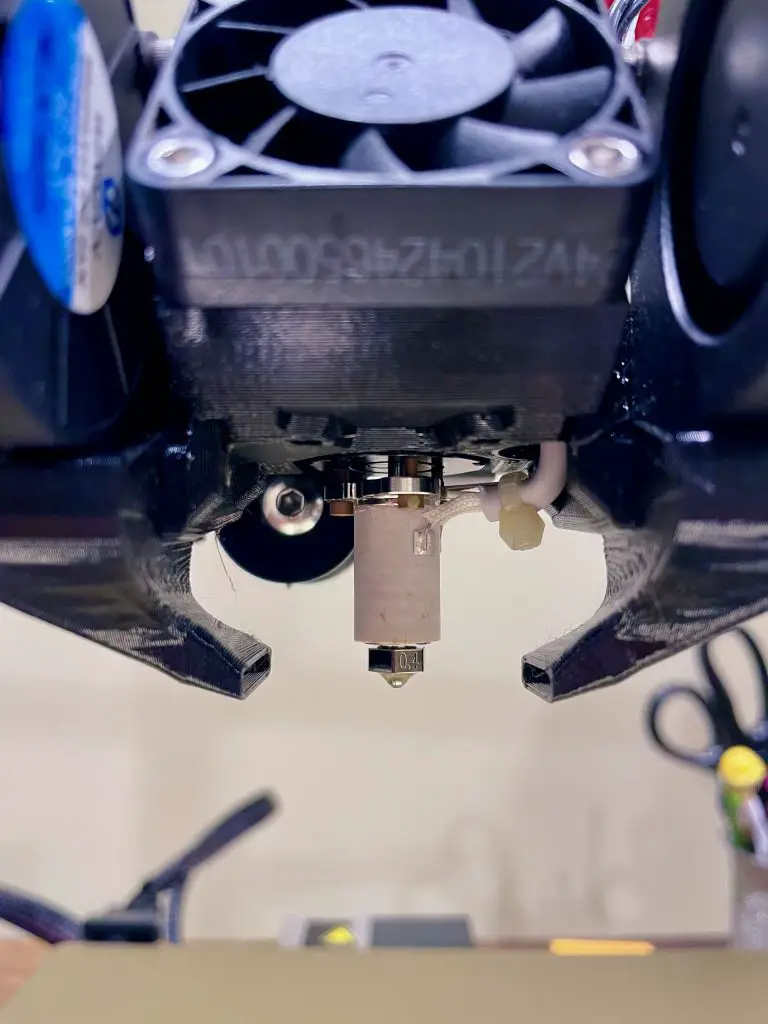
How difficult is it to install the Phaetus Rapido
Plan on a multi-hour conversion if you’re installing it on a Creality printer (such as the ) as the Phaetus uses a “V6” style mount.
This means you’ll need to buy/print a new mounting system for the Phaetus, so I took that time to upgrade my fans to the HeroMe Gen 6 cooling system.
Note: I chose the HeroMe because it explicitly supports the Phaetus. However, the build sucks so hard that I’d recommend trying the compact “Manta” system for a Creality Ender 3, 5, or CR 10.
Once mounted the rest of the build was pretty easy. I spliced in new wires using , auto-tuned my PID (see below), and was good to go.
How to autotune your Phaetus PID
This is the guide I used to tune my PID on the stock (Marlin) firmware.
If you’ve already upgraded to Klipper then I’m positive you could handle this without my help.