Users love Prusa’s 3D printers for their reliability and performance. Unfortunately, they can get loud.
Let’s go over some ways to make them quieter without sacrificing performance.
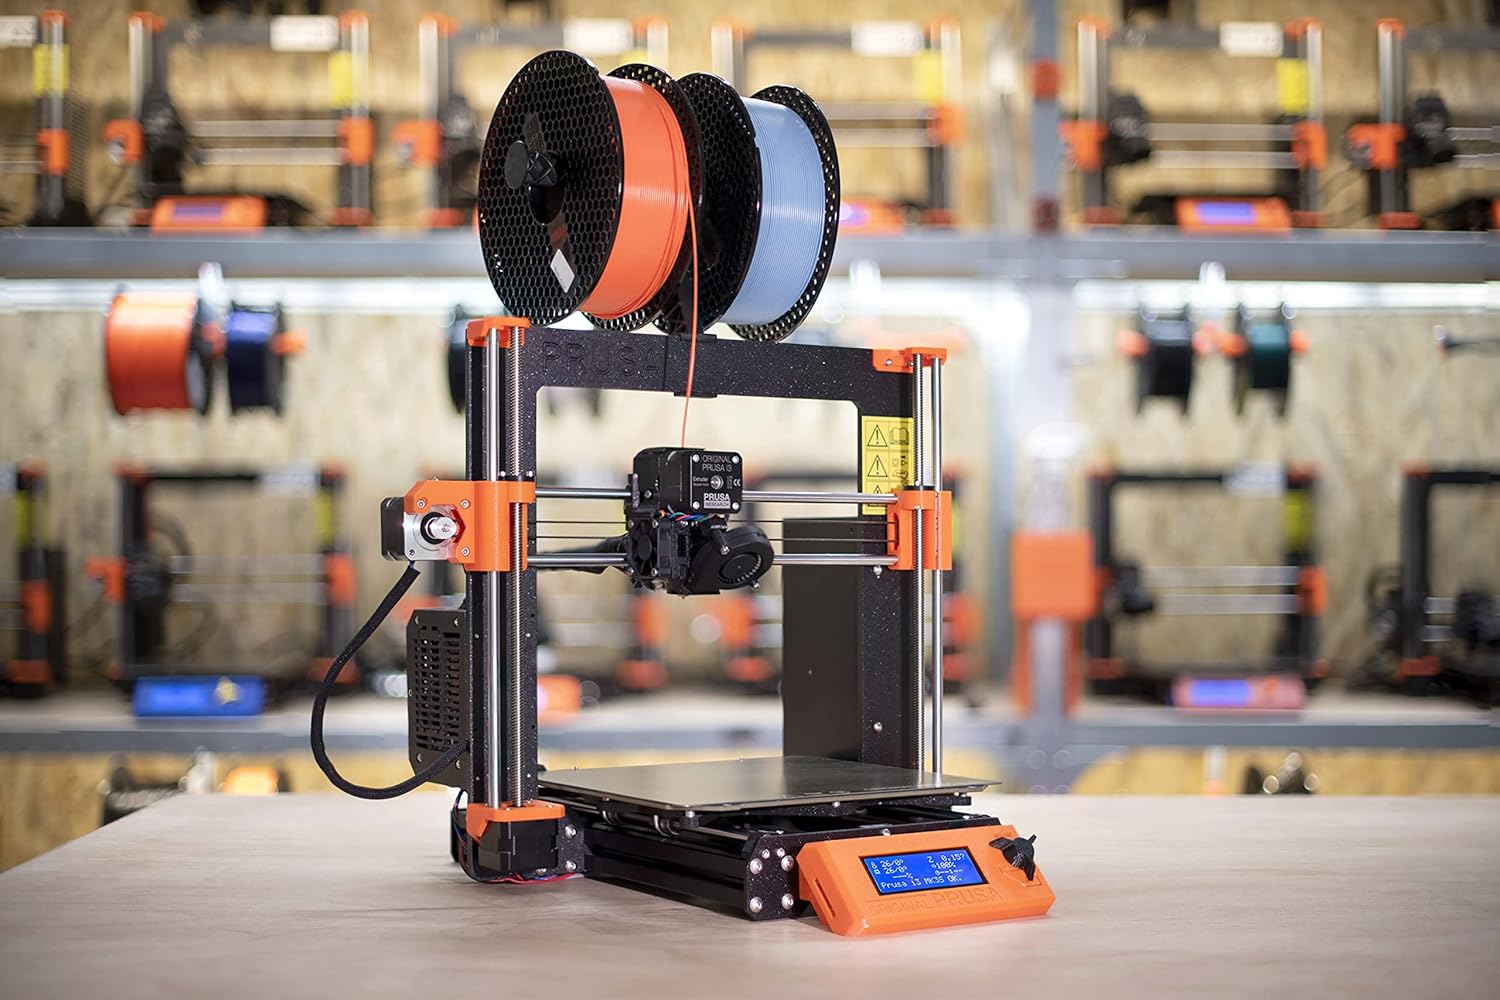
Prusa’s become a big name in 3-D printing. Their FDM (Fused Deposition Modelling) printers, like the MK3S, have gone big on the market.
Hobbyists and professionals swear by Prusa. But it’s not perfect. Many users struggle with how loud Prusa’s printers can get.
Even with Prusa’s stealth mode, they’re often much louder than other brands. I’ll explain why Prusa Mk3s printers can get so loud and what factors affect their noise level. I’ll also give some tips to give you the quietest 3D printing experience possible.
Why Is Your 3D Printer Noisy?
The average 3d printer prints with a noise level between 40-60 decibels. This is about as loud as air-conditioning or a normal conversation. Prusa printers often end up on the higher end.
FDM 3d printers are loud because of their moving parts. These include the cooling fan, stepper motors, linear bearings, and rail carriages. Printing causes vibrations that make these parts rattle.
Plenty of factors cause this rattling. These include where you place your set-up and how fast you’re printing an object. It also depends on how you assemble your printer.
Build quality and parts shaking during printing also add to the noise.
Prusa’s Mk3s printers are also known for their fans going on full blast during start-ups, ramping up the noise. This is standard procedure. The machine ramps the extruder’s cooling fans up to 100% RPM when the machine’s turned on. This is to check the continuity of the wires and ensure everything works.
Factors Affecting Printer Noise Levels
Loud print noises can prevent any potential hobbyist from buying a 3d printer. Let’s go over why your machine is so loud, whether you’re printing or not.
1. Quality and Sizes of Parts
Higher-quality printers are generally quieter. Cheaper printers tend to have lower-quality materials to make them more affordable.
Larger printers like the MK3S also often use higher quality materials. It might be better to invest in a larger printer to ensure better build and print quality.
2. Maintenance
A well-maintained printer is a much quieter printer. After all, a printer that’s good as new runs well and a smooth printer is a silent one.
Clean the print bed at least once a week, ensuring dust doesn’t accumulate on the bearings and fans. This prevents your printer from overheating and will save you from headaches.
Also, be sure to keep your linear bearings lubricated as dry bearings are loud bearings.
3. Printer Types
FDM printers are much louder than Resin printers.
This is because of the number of moving parts involved. FDMs have more parts that shake, rattle, and roll up the decibels.
4. Stepper Motors
Stepper motors share the blame with fans for the loudest components on your printer.
Compared to the Ender 3 V2, the stepper motors on the Prusa i3 MK3S+ are quite a bit louder.
Stepper motors also cause the extruder assembly and hotend to move in the X and Z axes, while others move the bed.
These can cause vibrations that shake the whole system and can rattle loose screws. Since this shaking affects the extruder, it also affects print quality.
5. Fans
Fans may be the loudest components on any hot machine, and FDM printers get very hot. This is because they need to melt the plastic material or keep it on the print bed.
The hotter your extruder gets, the faster your fans will spin, and the louder your printer will be.
The amount of noise caused by fans will be dependent on the fan, the fan speed required to cool the part and/or hotend, and the fan’s motor quality.
Best Ways to Reduce Noise on Your Prusa MK3S Printer:
Many loyal Prusa users complain of loud, rickety, and even grinding sounds coming from their printers. But, you can do many things to make your printer run smoothly.
We arranged these steps from the cheapest, simplest option to options that need external add-ons or replacements.
1. Activate Stealth Mode and Change Settings
It’s best to check the software settings on your machine and your slicing programs before opening up your printer.
Prusa has a proprietary stealth mode on their printers. Start with that.
Activating silent mode or stealth mode on the Mk3s lets you get the quietest performance out of your printer. Only the fan remains as the noisiest part.
It’s a blessing Prusa offers its users.
Another step is to reduce your print speed by around 30%. A slower printer produces fewer vibrations, causing less noise. This also lets you get better-quality prints… at the cost of moving slower.
Sound also depends on the quality of your printed item. Try testing out different STL files to see which ones cause more noise from your Mk3s printer.
2. Double-Check Your Assembly
A good printer boasts solid construction. But that comes down to how well you can assemble your machine when you first get it.
If your machine makes too much noise – especially rattling – because of shakiness, its parts might be loose.
It’s best to take an and wrench to the various pieces and tighten everything down.
This way, you increase the tolerances on your printer. Only the necessary items move. This means you hear less noise, letting you get the smoothest prints out.
3. Lubricate and Check the Internals
When you’ve checked your printer every which way, and it’s still noisy, now may be the time to look inward. You may have to open up the extruder assembly and inspect the fan.
The best lubrication to use is sewing machine oil. This white mineral oil is colorless, odorless, and doesn’t goop up inside your components.
Keeping your parts rolling makes sure that everything works as it should. The more smooth your parts roll, the fewer decibels your printer lets out.
To lubricate a fan you’ll usually have to peel back the sticker on the fan and put a drop of sewing machine oil into the hole.
4. Mount Your Printer on a More Stable Surface
Changing where you mount your printer is an effective solution for a noisy, rickety-sounding Prusa printer. You can also change what surface you mount it on.
Users found a common solution. It’s best to mount the whole machine on a solid wooden table or even a smooth concrete slab.
Mounting on a cement base reduces the noise level. It eliminates shaking and keeps your machine stable.
5. Add Dampeners and Other Assists
This step relates to the printer surface. Mounting your printer with the right assists ensures a quiet, smoother print flow.
The best part is using your printer to print these upgrades out.
While concrete slabs cut any movement, dampeners and “feet” for the pillars act like shock absorbers. They bounce along with the printer to spread the vibrations.
By absorbing the vibrations, these dampeners reduce the shaking and lessen the noise coming out of your printer. They also ensure better sticking of the material.
Printing these assists is easy. Their designs are free to download on websites like Thingiverse. Download, print with your Prusa printer, and you’re all set.
6. Build an Enclosure
This step requires some TLC and DIY, but it should be easy to pull off, and the results will be worth it. This step is the best bit of soundproofing you can do to trap the noise.
A $15 photo studio tent is a hassle-free enclosure that needs no set-up or effort on your part.
However, it’s not fire-proof and will do little to help you print ABS, PC, or PEEK.
A heavier-duty version is an Ikea Lack table design with a glass cabinet with wooden pillars.
Or, for a hassle-free AND fireproof AND sound-reducing option, you can purchase .
These set-ups need the least effort but allow you to print in a quieter environment. They act as a “recording booth” for your printer to sing its song.
This step is effective for those who print using ABS plastic since it helps contain the smell of the material and reduces drafts, which cause warping.
7. Replace Your Fan Blades or Other Parts
When you’ve explored all other options, it’s time to go with the most reliable, if costly, step. Now’s the time to replace your parts and say goodbye to the noise once and for all.
We saved this step for last since replacement parts can get expensive. Adding them also means fiddling with the sensitive components on your printer.
To get the right performance, replace your fan blades, stepper motors, and other moving parts.
These are some replacements for you to get that “out-of-the-box” performance again.
Frequently Asked Questions
Why Are the Fan Blades So Loud When I Turn On My Prusa Printer?
Most of the noise on 3d printers comes from the fan blades. Like laptops, too much heat can cause the extruder fans to work overtime to cool it down, hence the sound.
People know Prusa printers for the loud welcome. The Mk3s greets users turning it on by whirring at full speed for a few seconds before quieting down.
Per Prusa’s customer support, part of the start-up process involves clocking the fans to 100% RPM. This ensures that the fans run after its Power On Self Test (POST).
This step ensures no overheating happens because of a bad fan. There’s nothing to worry about, and no need to replace the fan or any other part in this case.
Conclusion
Assemble your printer well. Find the right print settings. Mount it on the most stable surface, and add minor upgrades.
These are some steps you can take to get your Prusa Mk3s printer to the quietest it can be. For your peace of mind (and eardrums).