Today I’ll teach you how to upgrade a QIDI X-One or X-One2 with igus polymer bushings.
This replaces the noisy ball bearings that come with the machine and is one 3D Printer upgrade that is both cheap and easy to do.
There are two ways you can do it.
Method 1: Cut the Igus Bushings to size or
Method 2: Print the re-designed linear brackets made to fit the original igus bushing length.
Qidi igus upgrade Method 1: Modify the Igus Bushings
First, you will need a set of (8pcs) bushings. You can find them on Amazon, eBay, Aliexpress, or other sites like those.
Cutting the igus bushings
I designed a cutting jig to cut the igus bushings down to the correct size with a hack saw or similar style saw.
You can download it here on thingiverse.com
Assembling the jig is pretty straightforward.
Jig Assembly

Cutting the Bushings
Secure the jig to a vice clamp or screw it down to a stable surface. Insert an igus busing and get to cutting.
Once the igus bushings are cut you can clean up the edges with wire cutters and some sandpaper to make the look a little better. Make sure you clear the channel areas with residue powder.
Now that you have your eight bushings cut to size it’s time to disassemble your printer…
How to Dissemble the QIDI Tech X-ONE
Start by removing the outer shell housing by remove the outter screws.


To prepare the removal of the linear carriage loosen the small belt of the y-axis by loosening these two screws.

Now we want to look at the 4 sets of 4 screws on the top of the frame. These screws hold the entire linear carraige of the printer.

Remove all the screws leaving only (1) screw left per each set.

Next bring your bed all the way up to make it easier to drop the linear carriage.
Before we drop the linear carriage remove the belt clamp from the extruder bracket.

Okay now we can start to drop the linear carriage. Unscrew the remaining 4 screws on top of the frame.
Lets do the X-Carriage first. We need to loosen the belt first, to do this remove the 2 screws with washers on the x-motor and loosen the other 2 screws. This will take the tension off the belt so you can slide the belt off of the pulley.

To remove the X-Carriage remove the 8mm rods from the left bracket and slide the carriage right off.
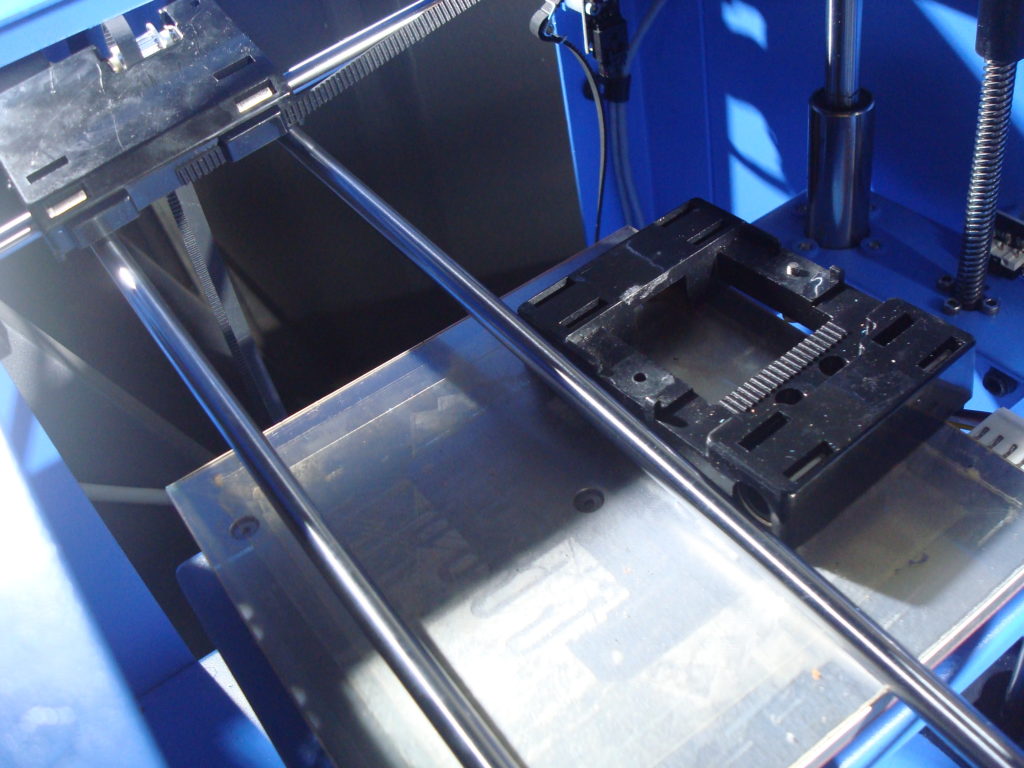
Remove the stock bearings by using a screwdriver to leverage them out. BE GENTLE! You can easily crack the bracket if you force at the wrong angle.
Press the new Qidi igus bushing into place.

Now slide the X-Carriage back on and make sure to put the belt back around it.
Start with the left side bracket. Remove the belt from one side.

Next remove the left side bracket by sliding off the 8mm rod end bracket and then sliding it off.


Now slide the left side bracket back on the rod and replace the end bracket piece.
Next for the right side since there are wires connected to the parts on the bracket. Just remove the 8mm rod and replace the bearings.


Now we have installed all the Qidi igus bushings and it’s time to put everything back together. Start by putting the linear carriage brackets back in place and held with just 1 screw for each set.

Once you have all the brackets and rods back in place start installing the belts. To do this keep one side of the belts attached to the bracket and then stretch the belt in place under the correct tension with some pliers. Make sure you already have the tension spring installed on the belt before stretching it out. This is way easier then installing it after the belt is in place under tension.

Do the same thing for the right side and then tighten the x-axis belt but putting tension on the motor and tightening the screws. Make sure before you tension the small belt on the Y-Motor that your linear carriage is squared up and slides nicely. Then tighten the Y-Motor and lastly tighten the belt on the X-Carriage.
Now test and smile…
Method 2, Print Custom Brackets
I have made a set of custom brackets you can print for your Qidi Tech machine. However keep in mind some of these are hard prints to accomplish.
Method 1 is recommended and easier but if you want a challenge or if it’s for aesthetics knock yourself out and here they are…
https://www.thingiverse.com/thing:2574016

Y-Axis Stepper Damper
The easiest way to make the X-One quiet is to install a damper on the Y-Axis Motor.

Adding this simple part is cheap and it makes a huge reduction in noise! The damper isolates the Nema 17 Motor from the metal frame, reducing the vibration noise that resonates through the frame. This upgrade requires little skill and is done in minutes. We highly recommend them.
Conclusion
I hope you have enjoyed this post on upgrading your Qidi 3D Printers to Igus Polymer Bushings. Please share, comment, or like this article, and be sure to stay tuned for some more great content! Happy Printing!
Also, check out our article on Installing OctoPrint – a Beginner Guide for your 3D Printer.