Supports are essential components to 3D print certain types of models. Cura is a very powerful slicer that has many support settings you can customize to get the results you want. Learn how to configure Cura support settings in this easy-to-follow guide.
FDM 3D printers work by putting down layer upon layer to build a model. One of the limitations of 3D printing is that all objects must have a base upon which they’re built. If a model has overhangs or protruding parts, the 3D printer will not be able to print those areas correctly because there will be no base for that part of the model to be laid upon.
To fix this issue, slicing software uses a feature called supports.
Supports are plastic structures that print with the model to provide a base for some parts of the model. Once the model is fully printed, the supports can be broken off.
Cura has many support settings which you can use to optimize how your supports come out.
One of the main reasons that 3D printing enthusiasts balk at the idea of supports is that they use up extra printing material and can often be a pain to remove. Even if you do manage to remove them without any issues, you may find that you’re left with a lot of sanding and post-processing to get the finish you want.
We’ll dive into Cura’s support settings first(since that’s most likely why you are here), and then we’ll also discuss whether you really need supports or not.
Cura Support Settings Explained
You will not be able to see Cura’s support settings in the default view, so you will first need to enable them:
- Go to “Custom” under the “Print settings” option
- Then find the menu option that says “Configure setting visibility”
- Select the “Check All” option
Now you should be able to see Support settings. To start, go to Supports and click “Generate Support”.
Where will the supports go?
Cura automatically generates support wherever it thinks supports should go. You can tweak the settings to change how aggressive or conservative the supports are.
Under “Generate Support”, you’ll be able to choose where the supports will be located. Here, you have two options: “Everywhere” or “Touching Buildplate”.
If you select “Everywhere”, any part of the model that has a slight overhang will get supports. So if you were printing a part that had a hole for a bolt on a vertical wall, the hole would get filled with a support structure.
Most of the time, you don’t need to be so aggressive with supports. That’s why you will typically choose option 2: “Touching Buildplate”.
Here, supports will only start from the buildplate, so any overhang that is directly above the buildplate without any material below it will get a support.
Even if you select “Touching Buildplate”, you may find that Cura has unnecessarily inserted some supports. To tweak support placement, you can use the next setting.
Support Overhang Angle
This setting lets you choose how much of an overhang is necessary before Cura inserts supports. The default is 45 degrees, which is why all circular holes will end up with supports. The higher this number, the steeper the overhang has to be for supports to be generated.
If you wanted to generate supports only for bridges, for example, you’d set the angle to 89 degrees.
There’s no “right” value to put here, and you’ll have to play around with it depending on the specific model you’re printing and the performance of your 3D printer.
You’ll be able to see all the supports in Cura itself, so if you feel like there are some extra supports you don’t need, change the angle a little and slice the model again.
Support Pattern
Cura lets you choose from a variety of support patterns each of which is suited for a specific use case:
- Zig-zag is the standard support pattern and it is the default on most slicers. It’s easy to remove and prints very quickly.
- Lines is similar to zig-zag but has a bit more strength. This means it will be a little tougher to remove, too.
- Concentric is similar to the concentric infill pattern. The way the lines are laid down makes it great for supports spherical or cylindrical objects.
- Grid and triangle supports are very strong supports that don’t easily get knocked over during printing. These are the most difficult to remove, and use a lot more material.
In most cases, you’ll probably be fine with using zig-zag and concentric.

Support Density
The next setting is Support Density. This is much like infill density. The more dense your supports are, the more time and material they will take up to print correctly. They will also be harder to remove.
High-density supports are sturdier, so if you are building a significant chunk of your model over a support, it may be worthwhile to increase the density.
Other areas of your model that are smaller and have fewer contact points with the support will do fine with lower densities. They will also be easier to remove.
Stick to the default settings for most of your printing, but feel free to increase or decrease this number as you see fit.
Support Z Distance
Support Z Distance is a critical setting that will determine two things:
- How well the model sits on the support
- How easy the support is to remove
The Z Distance has two parameters: top and bottom distance.
If this value is high, there will be a larger gap between the model and the support. A larger gap means the supports will break off more easily and the bottom surface will be smoother.
If this value is low, the gap between the model and support will be less, meaning it will sit more closely atop the support. This is useful for printing fine details that may get obscured otherwise. The caveat of a low Z distance is that the supports will be tougher to remove.
There’s no golden number here either, so you’ll just have to adjust the settings as you see fit to find the sweet spot. Start at the default values and adjust up and down accordingly.
X/Y Distance
X/Y distance is a lot like Z distance except that it changes the horizontal distance between the model and support.
The greater this value, the easier the supports will be to remove.
You may be tempted to just bump this value up all the way but that may also mess up your end result, as a smaller value results in a stronger support.
When you set the X/Y distance to a high value, the vertical areas of your 3D print will turn out better.
When the value is set lower, overhangs will turn out much better, but at the cost of imperfections and added post-processing.
Support Distance Priority
After you’ve adjusted the Z and X/Y distance, you may find that one value contradicts the other. Cura lets you choose which value it should give a priority to should this error come up.
Since supports are more about the Z axis than the X/Y axes, it is better to have Z override the other two values.
Join Distance
Join Distance determines how two or more support structures interact with one another. If two supports are closer to each other than the value you set here, they will print as a single support structure.
Printing supports together can save a little bit of time in printing and also add strength to the entire structure.
Too many merged supports will make them difficult to remove, though, so tread carefully.
Horizontal Expansion
The Horizontal Expansion setting is used for printing supports for very small areas.
If you were printing a snowman and had a carrot shape for the nose, the tip of the carrot would be very thin, but would still require supports.
Because it would be tough to print such a thin support, the horizontal expansion parameter lets the printer make a slightly larger support for the thinner part.
Leave this at default for best results.
Towers
The last setting to play with is Towers. Towers lets Cura print supports that have a wider base and a narrower top for supporting very small overhangs.
Cura supports are hard to remove: what now?
If your Cura supports are very difficult to remove, you can adjust one of the many settings above to make them easier to break off.
Try changing the support pattern or adjusting the support density to make them easier to remove. You can also slightly increase the Z distance to make them break off more cleanly. Finally, if Cura is creating supports in really tiny nooks and crannies, increase the overhang angle to reduce the number of supports needed.
Do You Need Support?
All things said and done, the first thing to consider is if you really need supports or not.
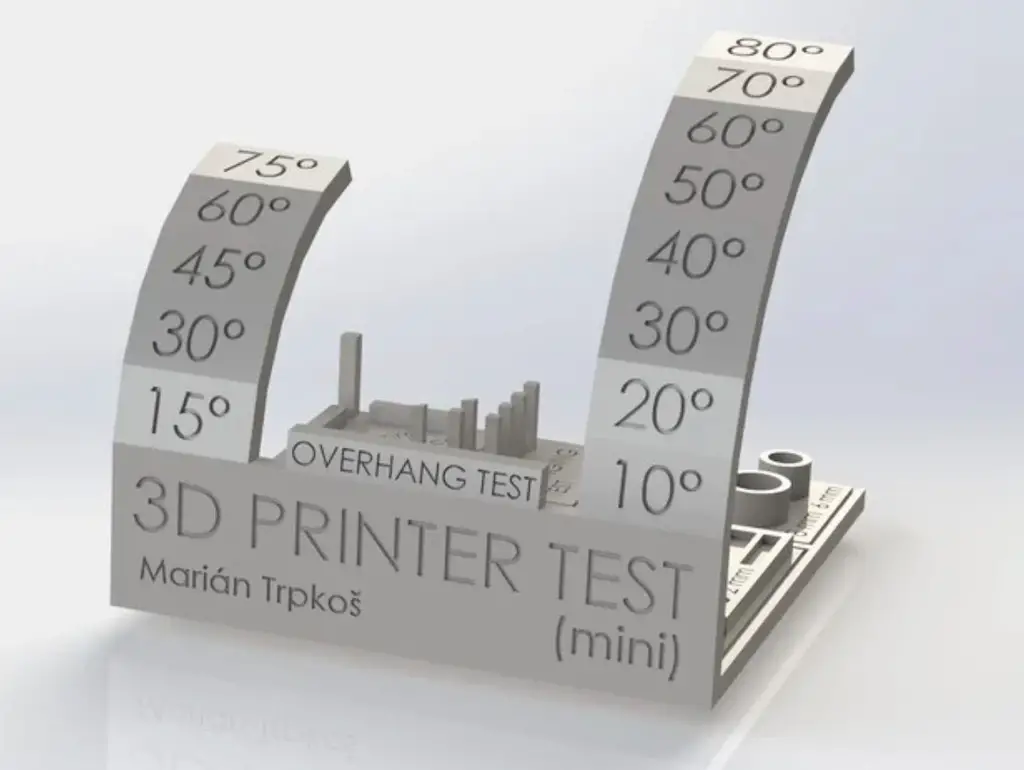
Usually, if you have overhangs that are greater than 45 degrees, you will need to use supports. Some printers may actually be able to manage a little more or a little less, so the best way to determine that is to print an overhang test like this one.
The other situation in which you’ll need supports is if your model has bridges. Most printers can easily manage a bridge of 50mm, but anything greater may need support.
To find out how well your printer handles bridging, print a bridging test!
Related: Learn about Cura tree supports
Cura custom supports plugin
One really cool add-on for Cura is the Custom Supports plugin which lets you place supports exactly where you want to. This way, you don’t have to depend on the Cura algorithm automatically placing the supports. Instead, you can place exactly how many structures you need and in the exact location you want!
Conclusion
There are a few more settings that you can tweak, but the ones we’ve covered here are enough for most of your 3D printing needs. As a general rule, only use supports when you really need to, as any supports will add a lot of post-processing to your prints.