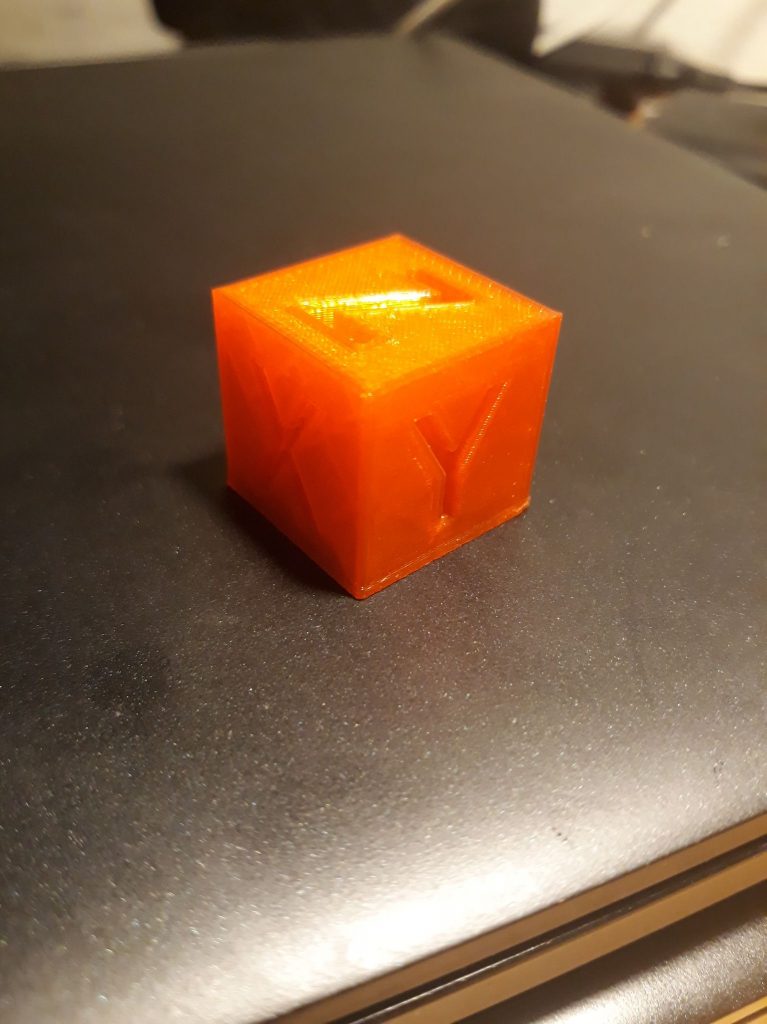
Elephant’s Foot is an unsightly 3D printing error that is quite common. It’s what happens when the first layer is a little bit bigger than the rest of the layers, often accompanied by a slight bulge towards the bottom.
This happens for a number of reasons, all of which can be fixed.
Under normal circumstances, the bulge caused by elephant’s foot is not too bad, but it may cause an issue when you need very tight tolerances. It may also be problematic when you try to print very large models, as the weight of the model can push on the first layers, making them stick out even more.
How to fix elephant’s foot in 3D printing
Sometimes, the fixes for elephant’s foot are quite simple.
Level the print bed and nozzle
Leveling the print bed can help prevent the nozzle digging in a little too deep or too little in parts of your print, causing elephant’s foot-like symptoms.
This is the ideal fix, as it requires the least effort and if it works, super!
Here’s a quick recap on how to level your print bed:
- Go to your 3D printer’s menu and home all the axes
- Go back to the menu and disable stepper motors. Now you’ll be able to move the bed and nozzle back and forth
- Take a piece of paper and slide it under the nozzle. You should feel just a tiny bit of friction, but not too much. Adjust the bed using the thumbscrews until you get the desired friction
- Repeat step 3 on the remaining 3 corners
Now try 3D printing another model and see if it prints without an elephant’s foot. If you’re still experiencing issues, try the next solution.
Decrease bed temperature
A heated bed does really well for print adhesion, but sometimes, the bed can be too hot and it can prevent the bottom layers from fully cooling.
If the bottom layers are too warm, they’ll compress under the weight of upper layers.
Decrease the bed temperature in steps of 5 degrees until you get a good result. If you went 25 degrees or more below your usual bed temperature, then the problem is most likely due to something else.
Try the next solution!
Adjust the “Initial Layer Horizontal Expansion” Setting in Cura
Cura 4.7 and onwards has a setting in the “Shells” menu called “Initial Layer Horizontal Expansion.” You can add a small negative value (try -0.01 and decrease by 0.01 every try) and Cura will slice that many fewer polygons on the first layers. This will help offset any elephant’s foot.
Use a raft
I am not a big fan of using rafts in 3D printing, but sometimes they are a necessary evil. When you print with a raft, it will bear the brunt of the model’s weight, so any elephant’s foot-like presentations will happen in the raft instead of anywhere else.
The only disadvantage of using rafts is that they can be quite hard to remove, and they sometimes ruin the very bottom of your model unless you really go at it with some sandpaper.
Use other methods for bed adhesion
Since the bed temperature is one of the main culprits for elephant’s foot, one thing you can try to alleviate the problem is to use something else for bed adhesion other than temperature.
This could mean adding painter’s tape, using hairspray, adding a glass sheet, or using a glue stick.
However, this won’t work with all filaments, as filaments like ABS need heated beds to print correctly.
You can try this with PLA, though, and it may solve the problem for you.
Add chamfers to your model
Finally, if all else fails, you can alter your model a little bit by adding chamfers to the bottom. Chamfered edges go inwards, reducing the footprint of the model. This will help compensate for any expansion in the first layers.
However, this is a rather extreme solution, and will only be practical if you’re designing your own model. You can add chamfers to a ready STL file using something like Meshmixer, but it’s a messy process.
Use better quality filament
Almost all 3D printing problems can be solved by using a higher quality filament. Cheap filaments usually don’t hold up very well, and you may end up pulling your hair out trying to tweak settings when it’s just a matter of using better filament.
Conclusion
Elephant’s foot is usually something that you don’t need to be too concerned about. If it’s affecting your parts’ tolerances, then you can try the solutions we’ve listed here to fix the problem.